August 22, 2023
A Step-By-Step Guide How To Seal Tile Shower Walls Using Microcement
How To Seal Tile Shower Walls
When it comes to renovating your bathroom, sealing tile shower walls is an essential step to ensure the longevity and beauty of your tiles. While there are several sealing options available, microcement has gained popularity due to its versatility, durability, and water-resistant properties. In this article, we’ll guide you through the process of sealing your tile shower walls using microcement, helping you achieve a stunning and protected bathroom space.
Step 1: Surface Preparation
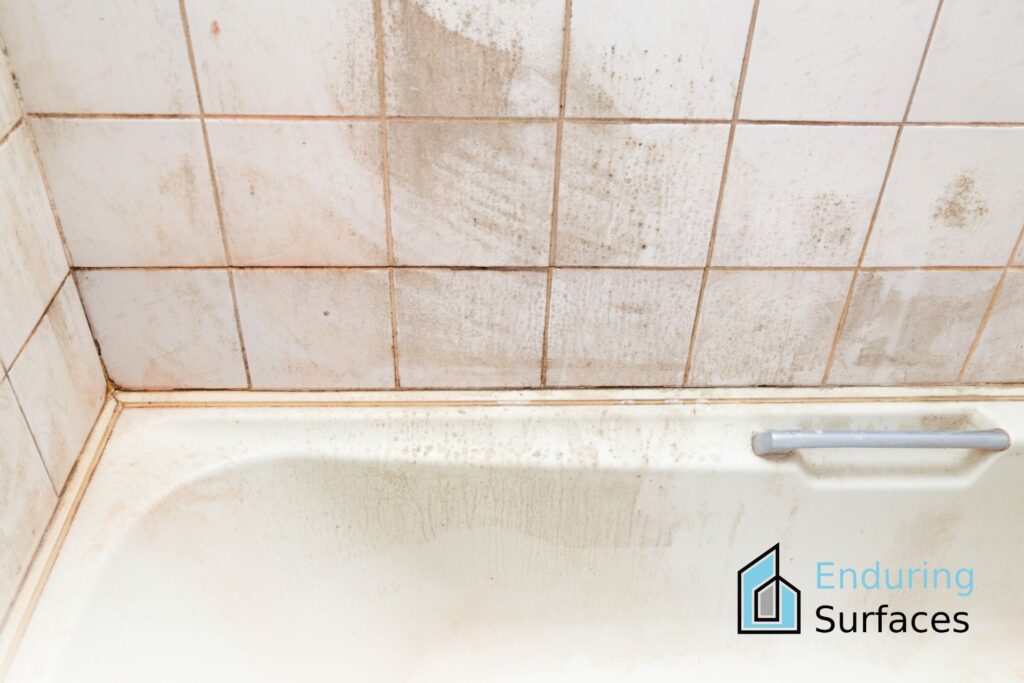
Before applying microcement, ensure that the tile shower walls are clean, dry, and free from any dirt, debris, or soap scum. Use a mild detergent and scrubbing brush to remove any residues. Rinse thoroughly and allow the walls to dry completely before proceeding.

Step 2: Repair and Patch
Inspect the tiles for any cracks, chips, or gaps. Address any imperfections by repairing or patching them with appropriate materials. This step ensures a smooth and even surface for the microcement application.
Step 3: Primer Application
Apply a suitable primer to the tile shower walls. The primer helps the microcement adhere better to the tiles and enhances its effectiveness. Follow the manufacturer’s instructions for the specific primer you choose, and allow it to dry according to the recommended time.
Step 4: Microcement Application
Prepare the microcement mixture as per the manufacturer’s guidelines. Use a trowel to apply the microcement evenly across the tile shower walls, ensuring complete coverage. Work in small sections to prevent the microcement from drying out before it’s properly applied.
Step 5: Smoothing and Leveling
After applying the microcement, use a smoothing trowel or a flat spatula to even out the surface and achieve the desired finish. Pay attention to corners and edges to create a seamless appearance.
Step 6: Curing and Drying
Allow the microcement to cure and dry as per the manufacturer’s instructions. This process usually takes a few days, during which you should avoid exposing the walls to excessive moisture.
Step 7: Sealer Application
Once the microcement has completely dried, apply a high-quality sealer specifically designed for microcement surfaces. The sealer will provide an additional layer of protection against water, stains, and mildew, ensuring the longevity of your tile shower walls.
Conclusion:
Sealing tile shower walls using microcement is an effective way to safeguard your bathroom from water damage and enhance its aesthetics. By following these step-by-step instructions, you can successfully seal your tile shower walls with microcement, providing a durable and beautiful finish that will last for years to come. Remember to choose high-quality microcement products and sealers to ensure the best results and a stunning bathroom transformation.
Tags: how to seal tile shower walls

